

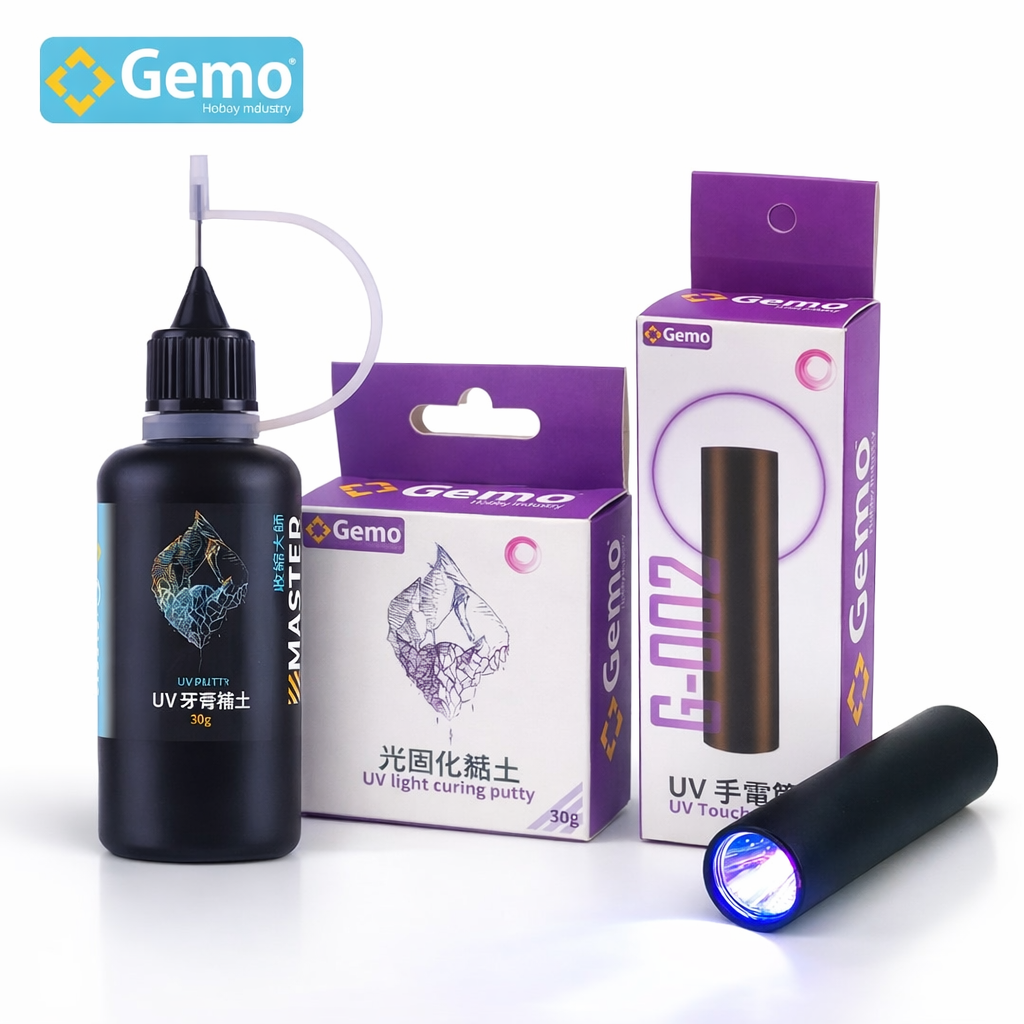


Gemo UV Light Curing Putty/Master Shrink/UV Torch Light
- Regular price
- RM 39.00
- Sale price
- RM 39.00
- Regular price
-
RM 49.00

Worldwide shipping subject to international guideline

Secure payments

Authentic products
Flamable shipping subject to IATA guidelines
Share
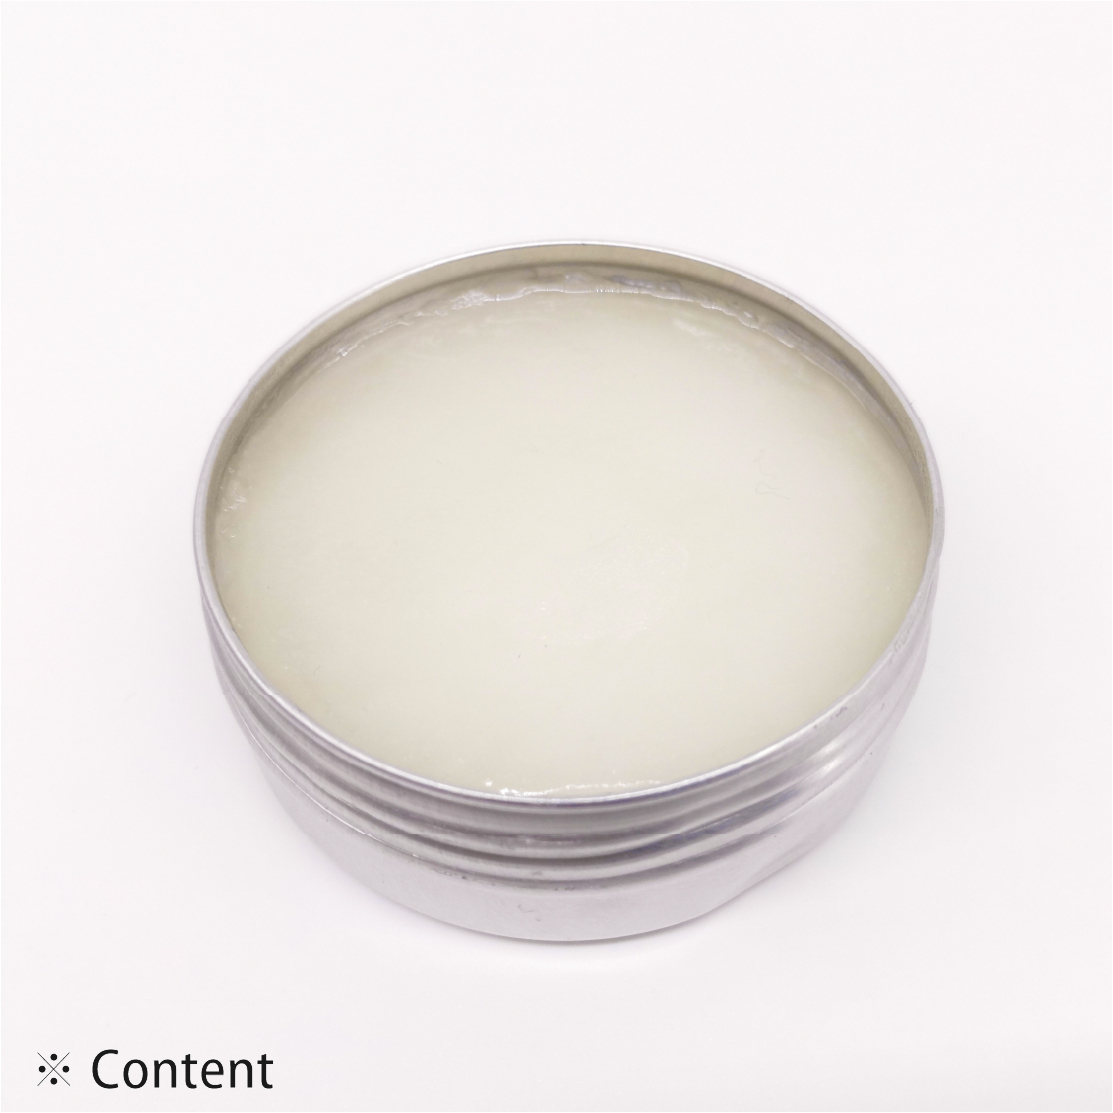
UV Light Curing Putty
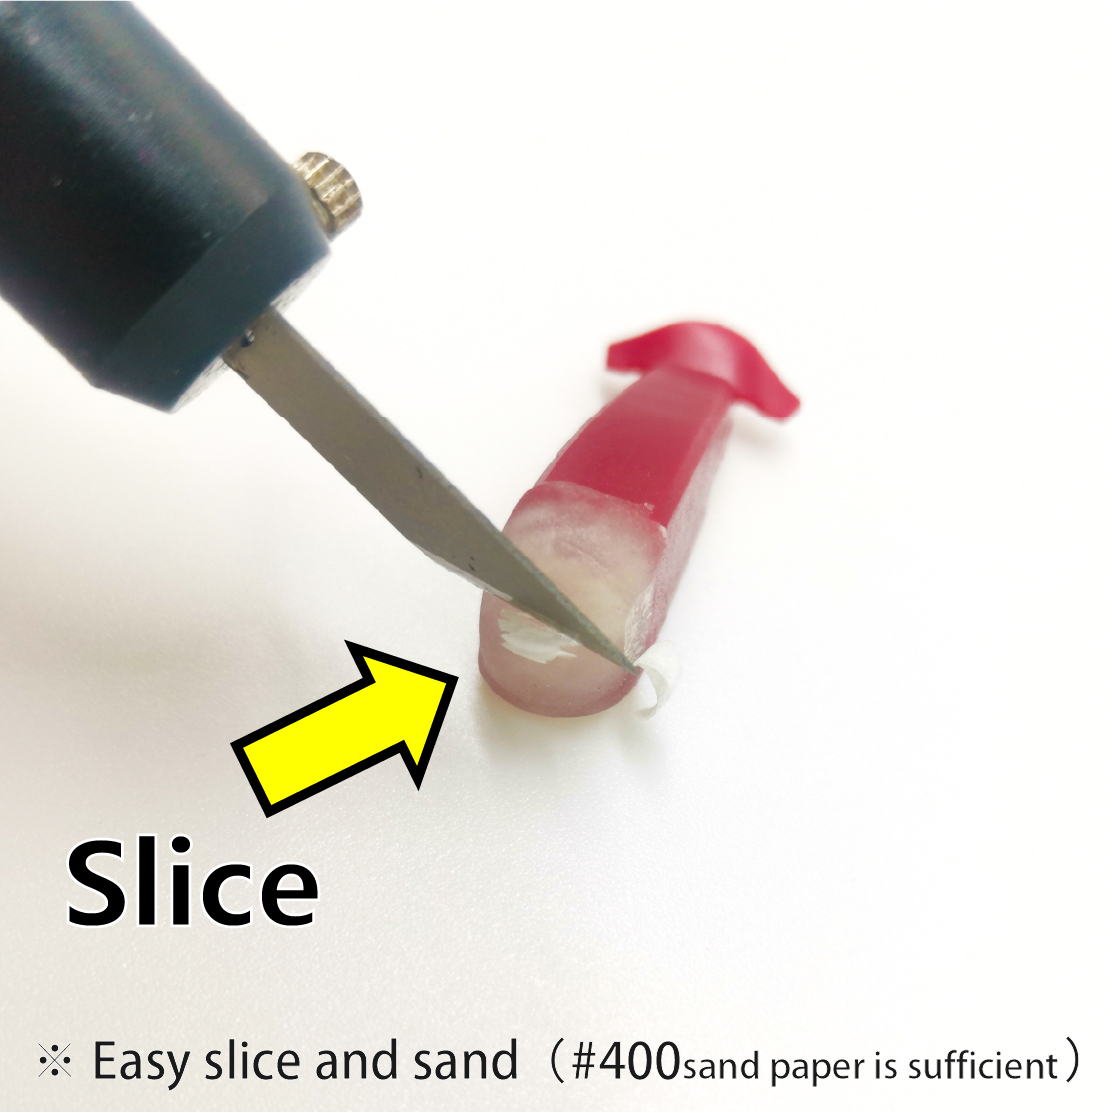
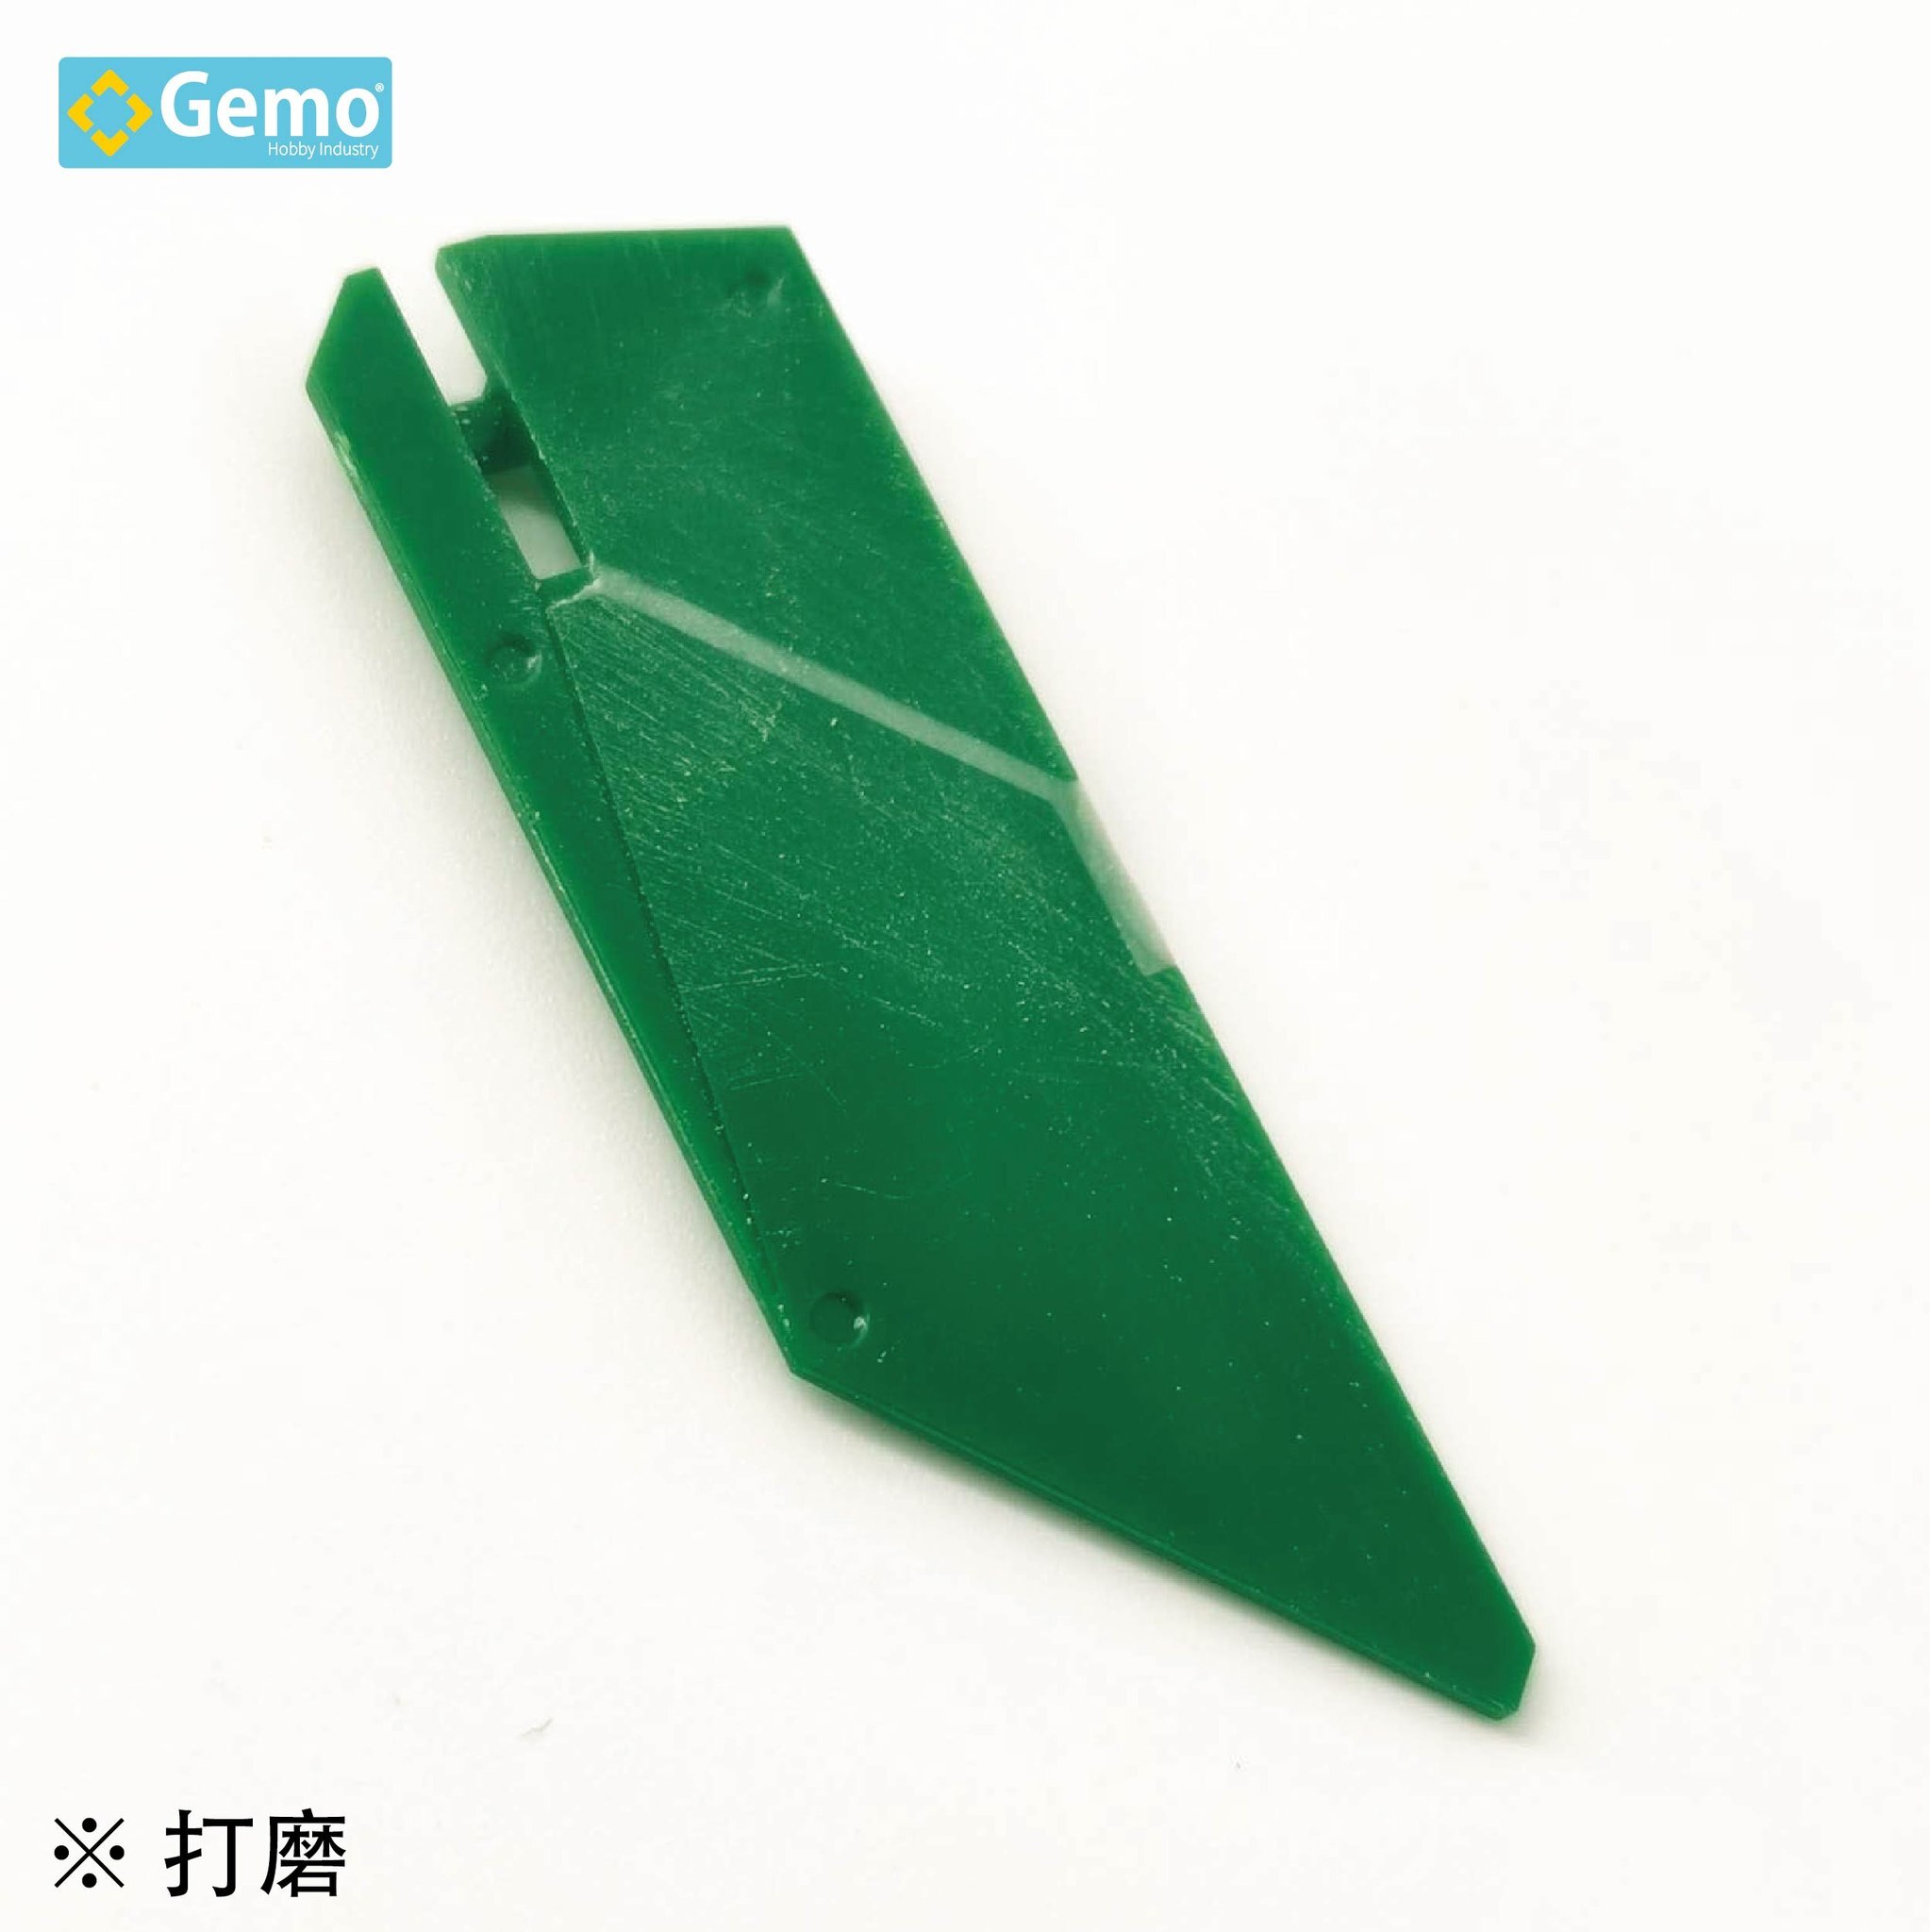
#400 sand paper easy sand
Easy cut with razer blade
0.1~1cm thickness can be apply
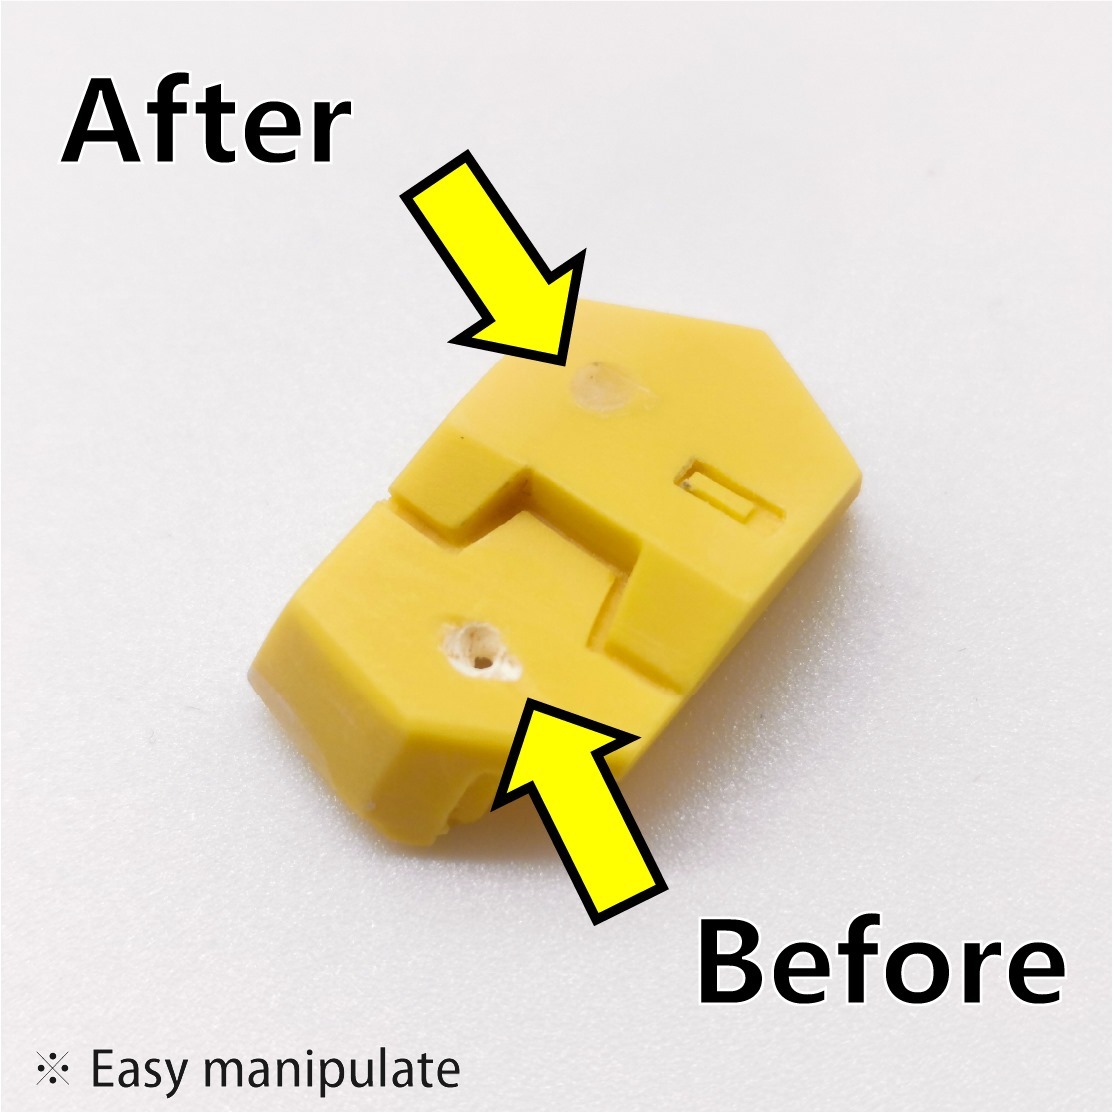
Kneadable
No oil appear after curing
Low heat
Instructions:
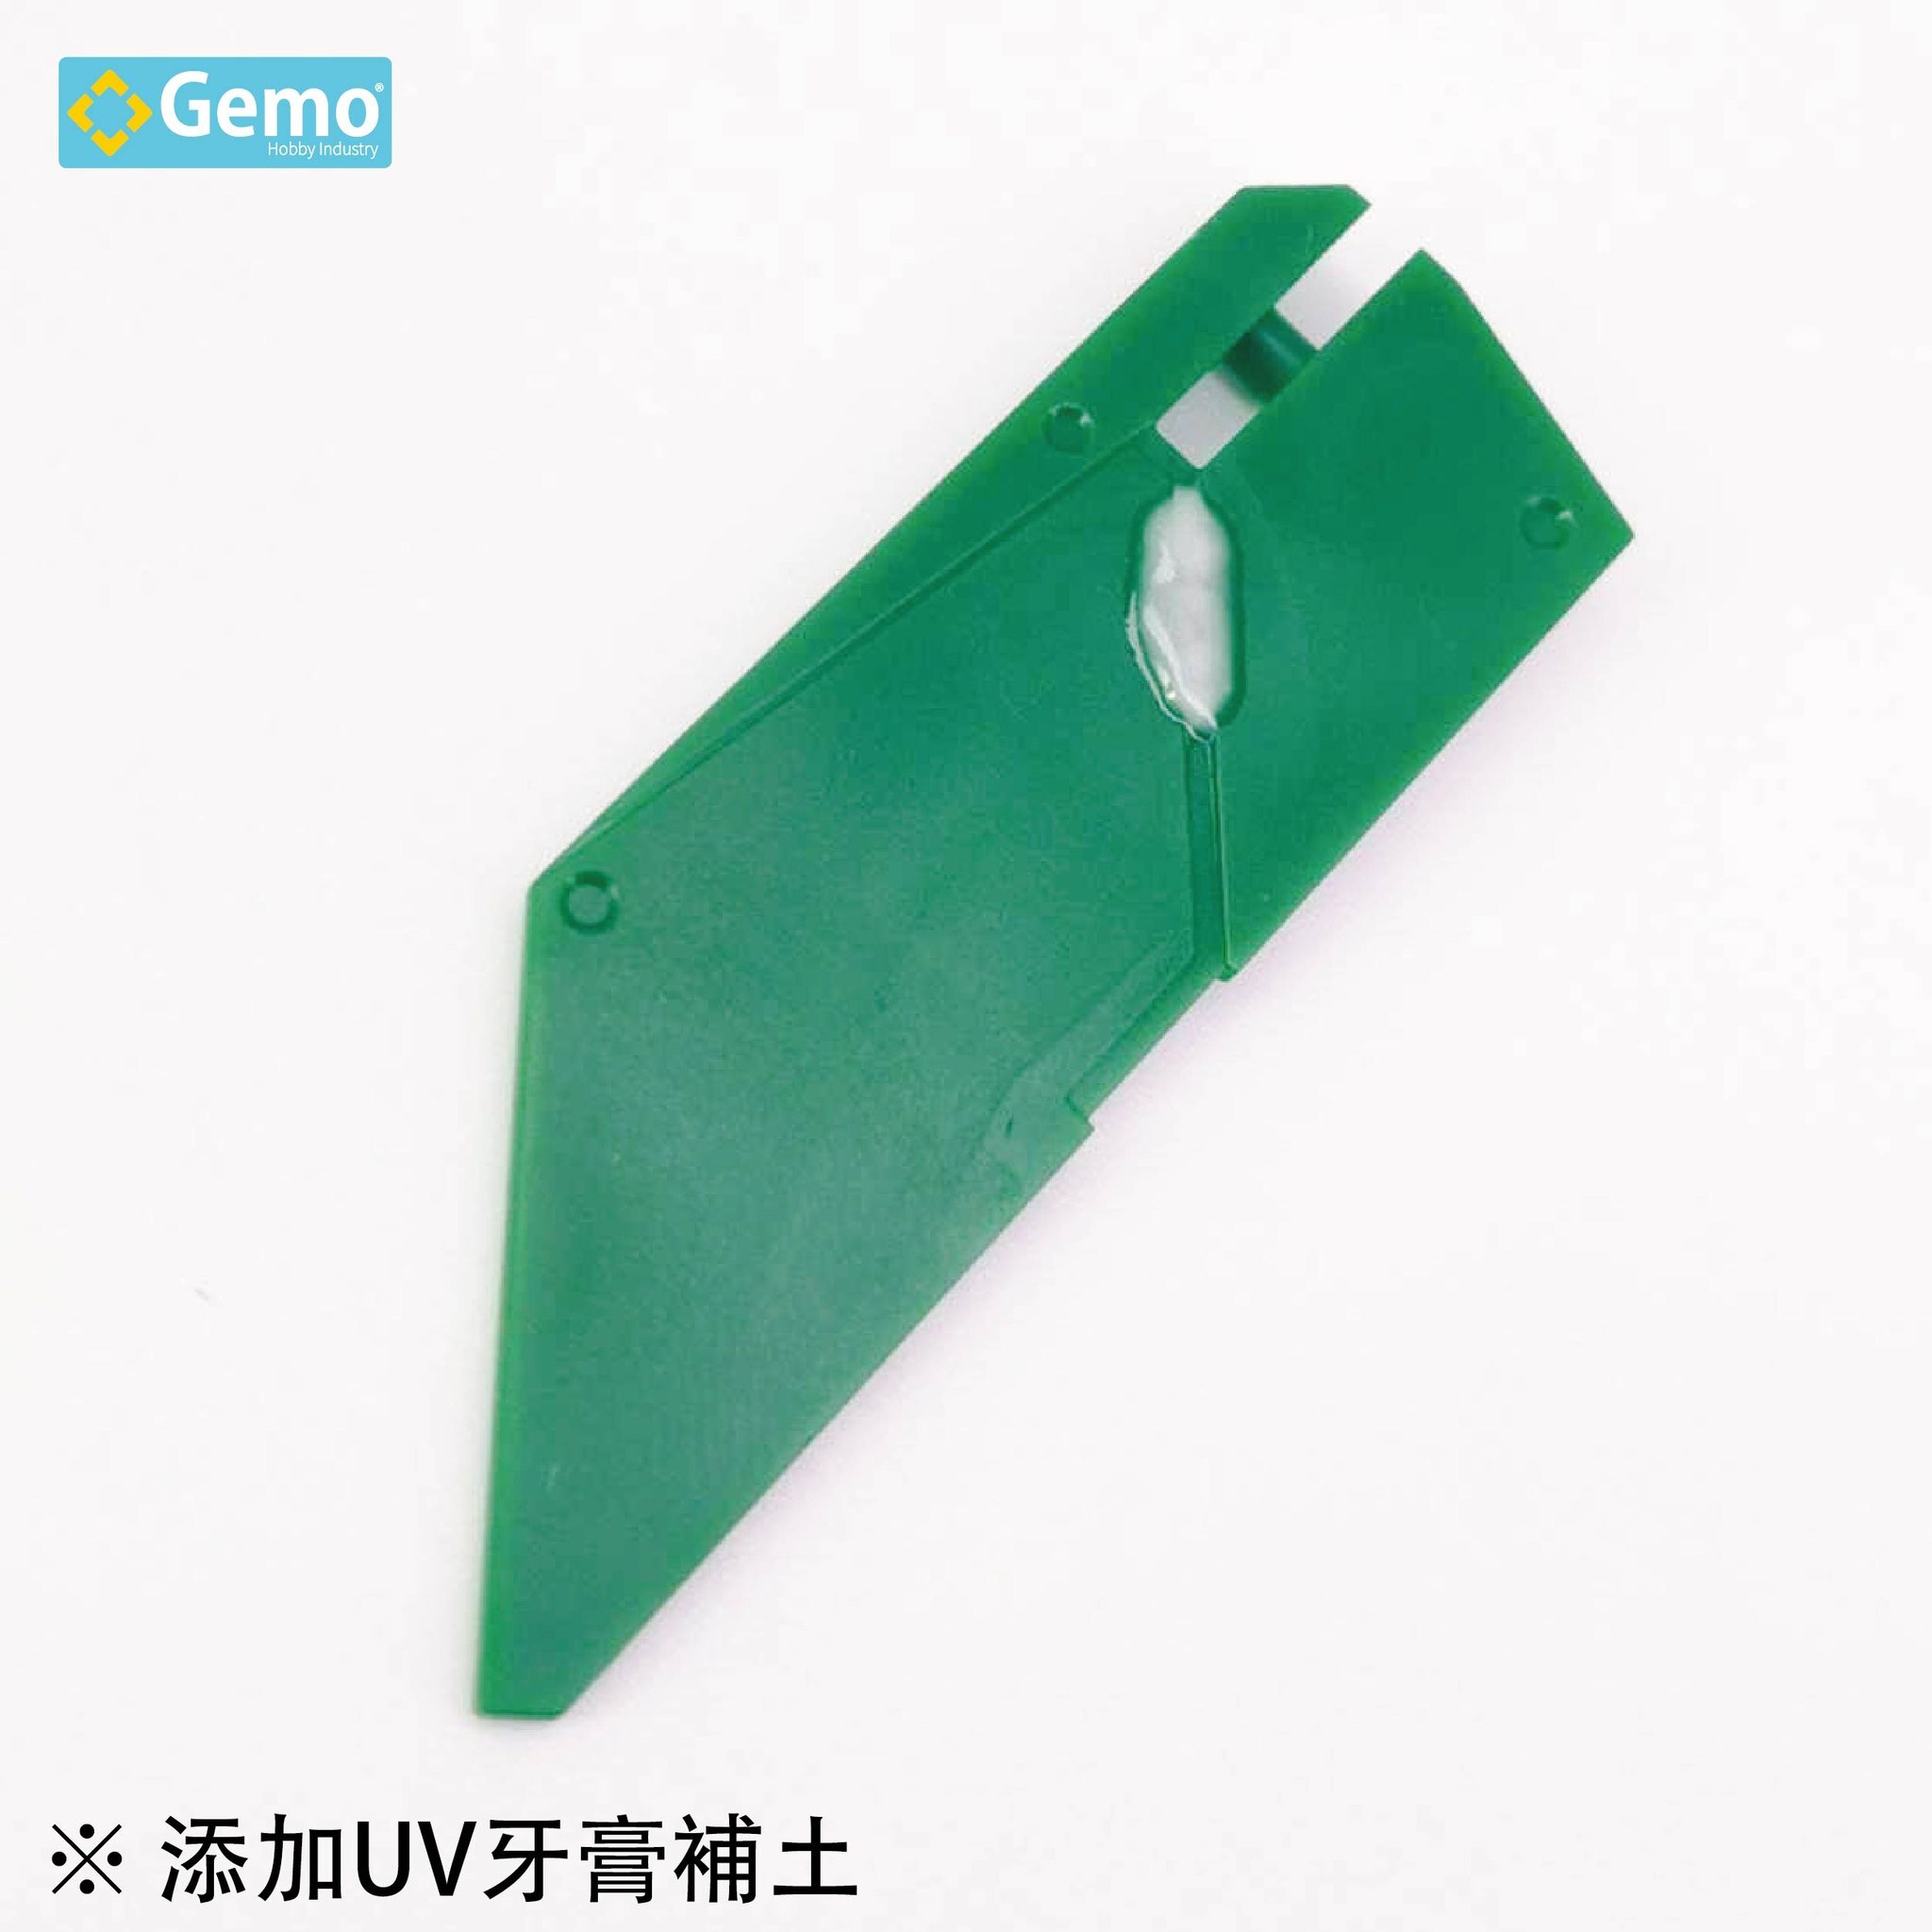
1. First fill up gap or hole with clay.
2. If you need to see the defects clearly , recommended add a little color pigment or dye in clay (remember a little bit is enough, otherwise it will affect the adhesion)
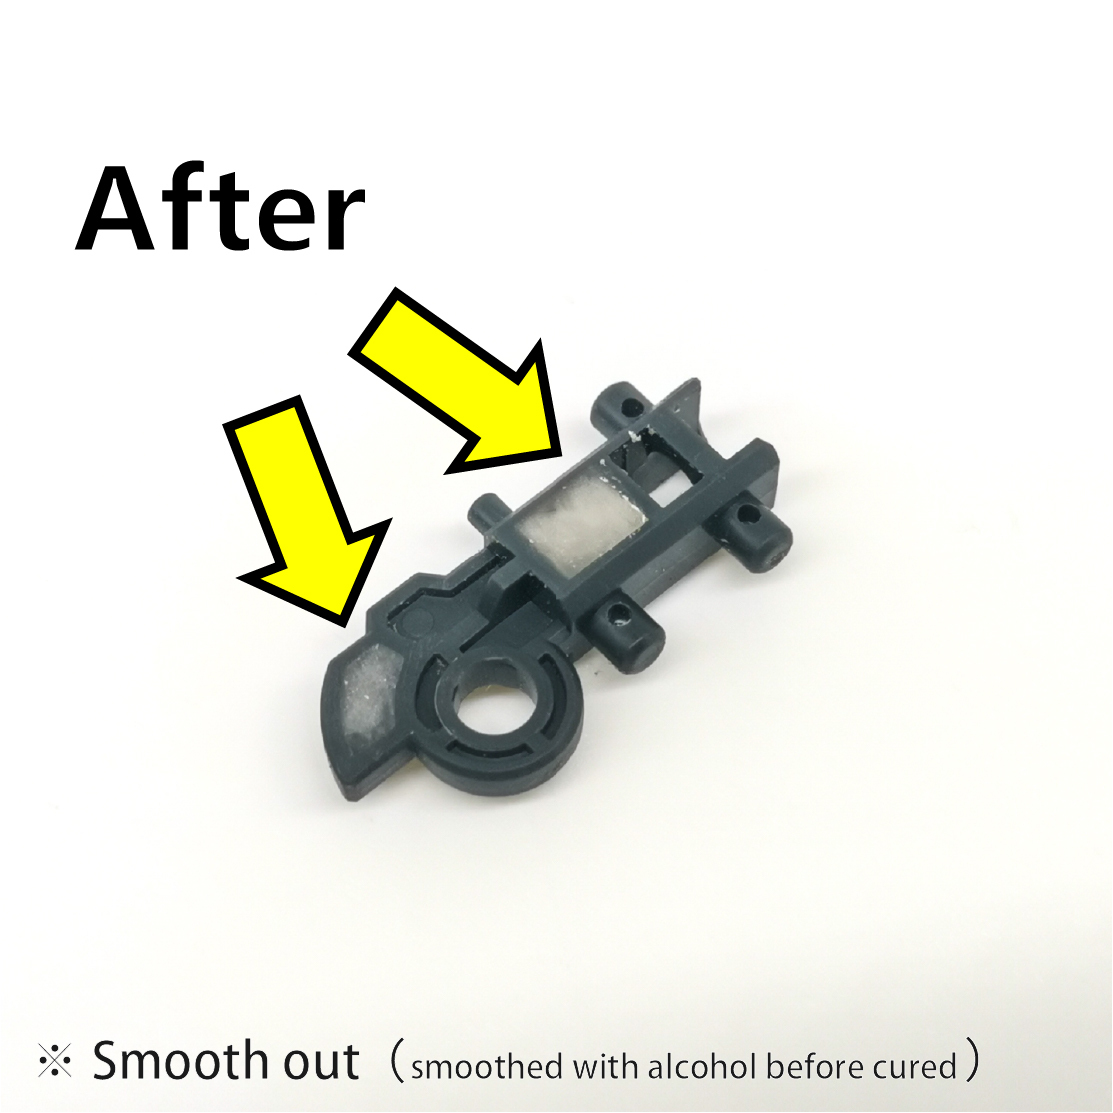
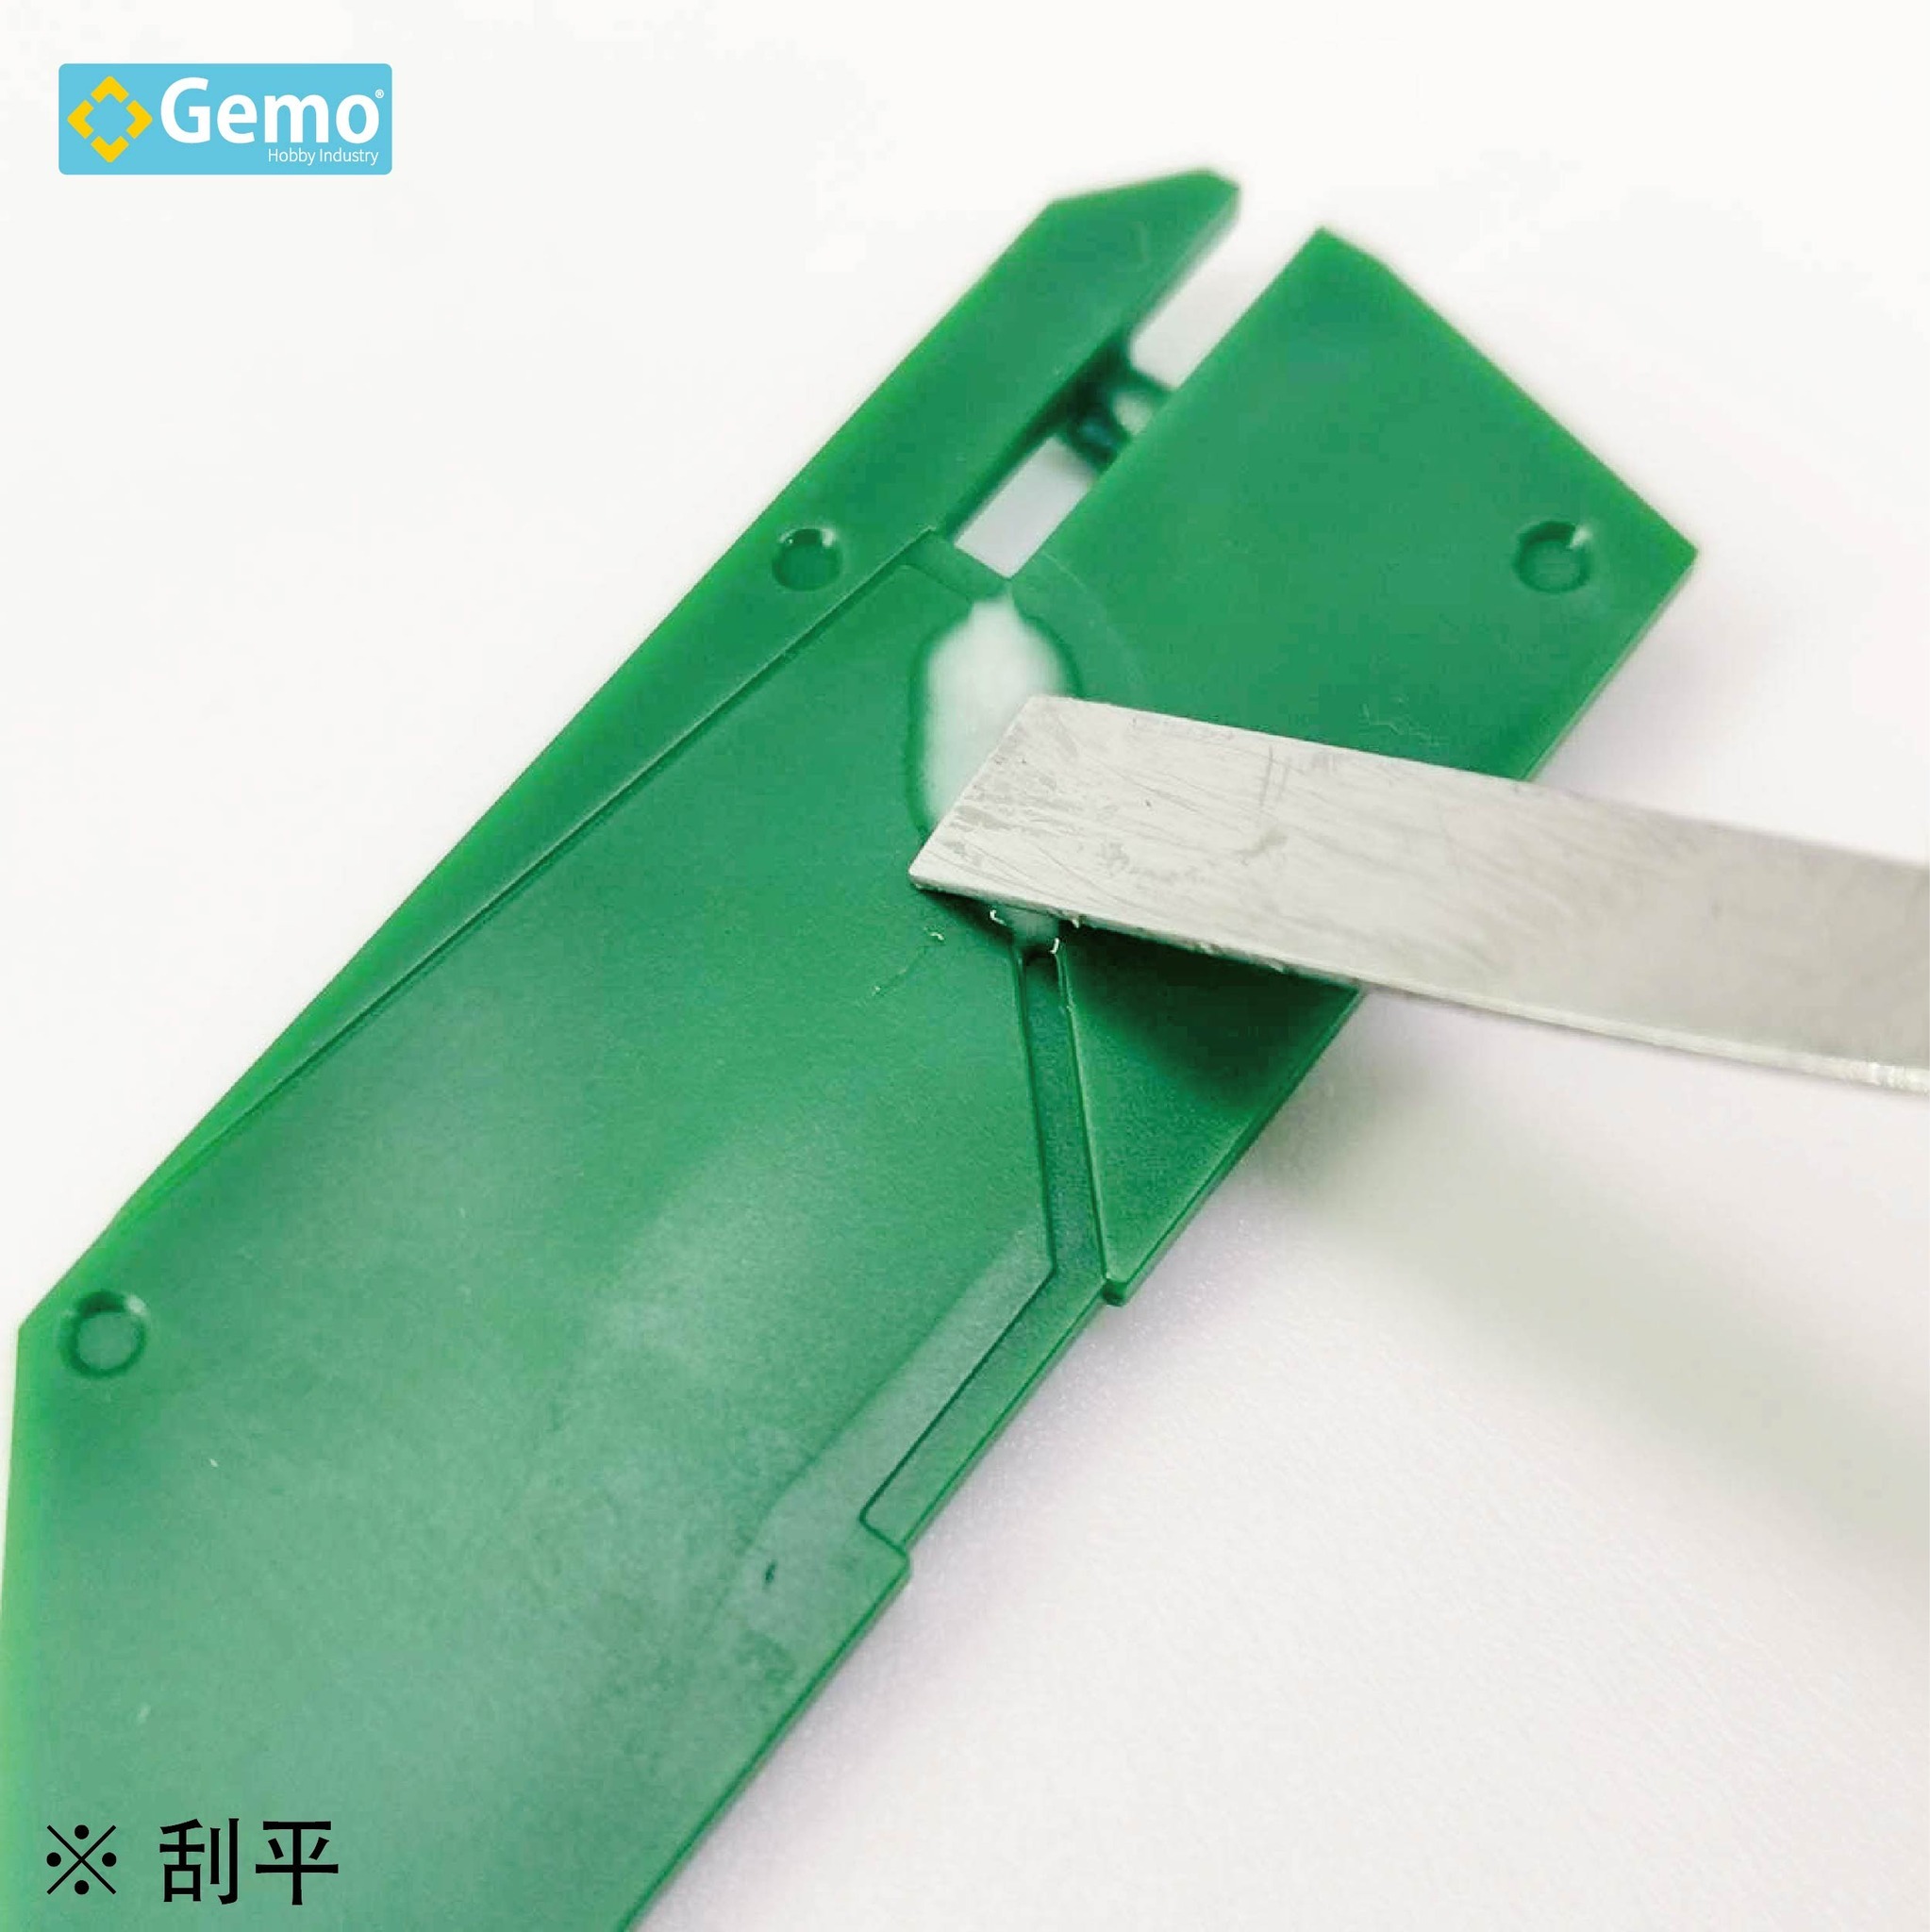
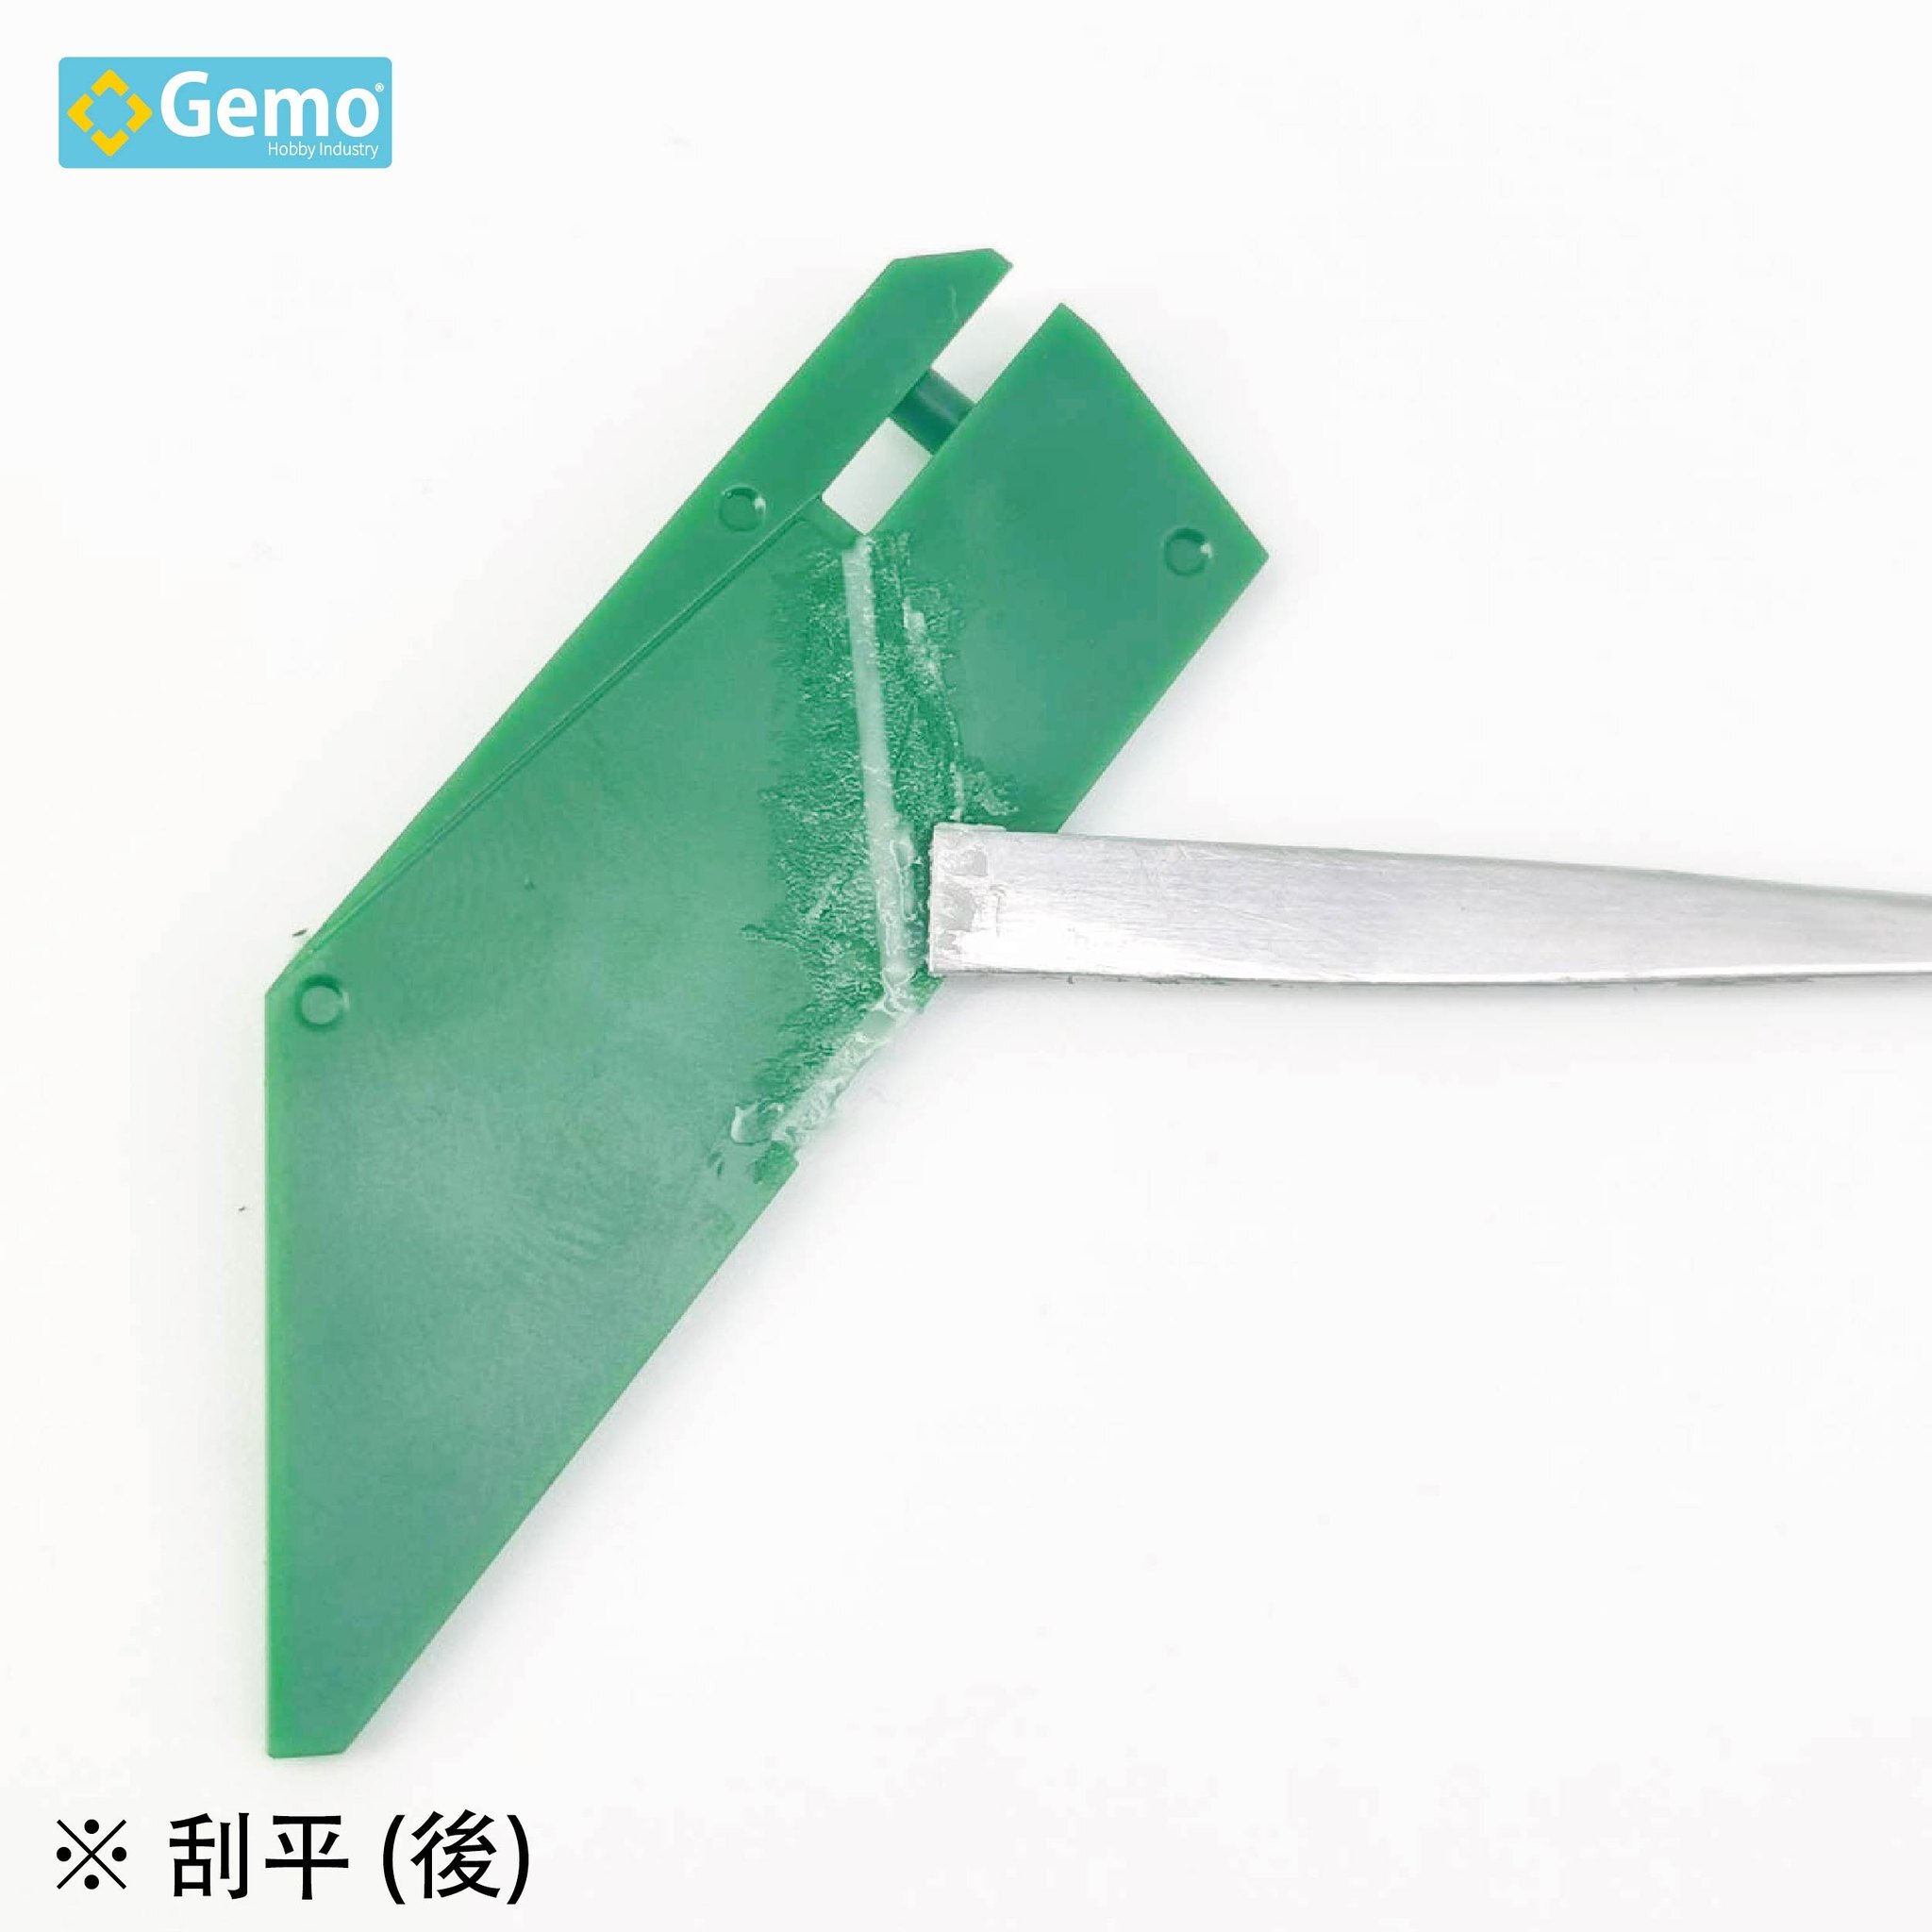
3. If the purpose is only to fill up smoothly , recommended to use ethanol to smooth the clay, which can save a lot of sanding time.
4. How to "extend and modification" for the parts. Remember, before the clay is apply, two things must be ensured
(a) Be sure no dust on the plastic surface (recommended sand the parts to increase adhesion)
(b) The clay must be stick on the part ensured no bubble or gap between part and clay (the principle is similar to ab clay)
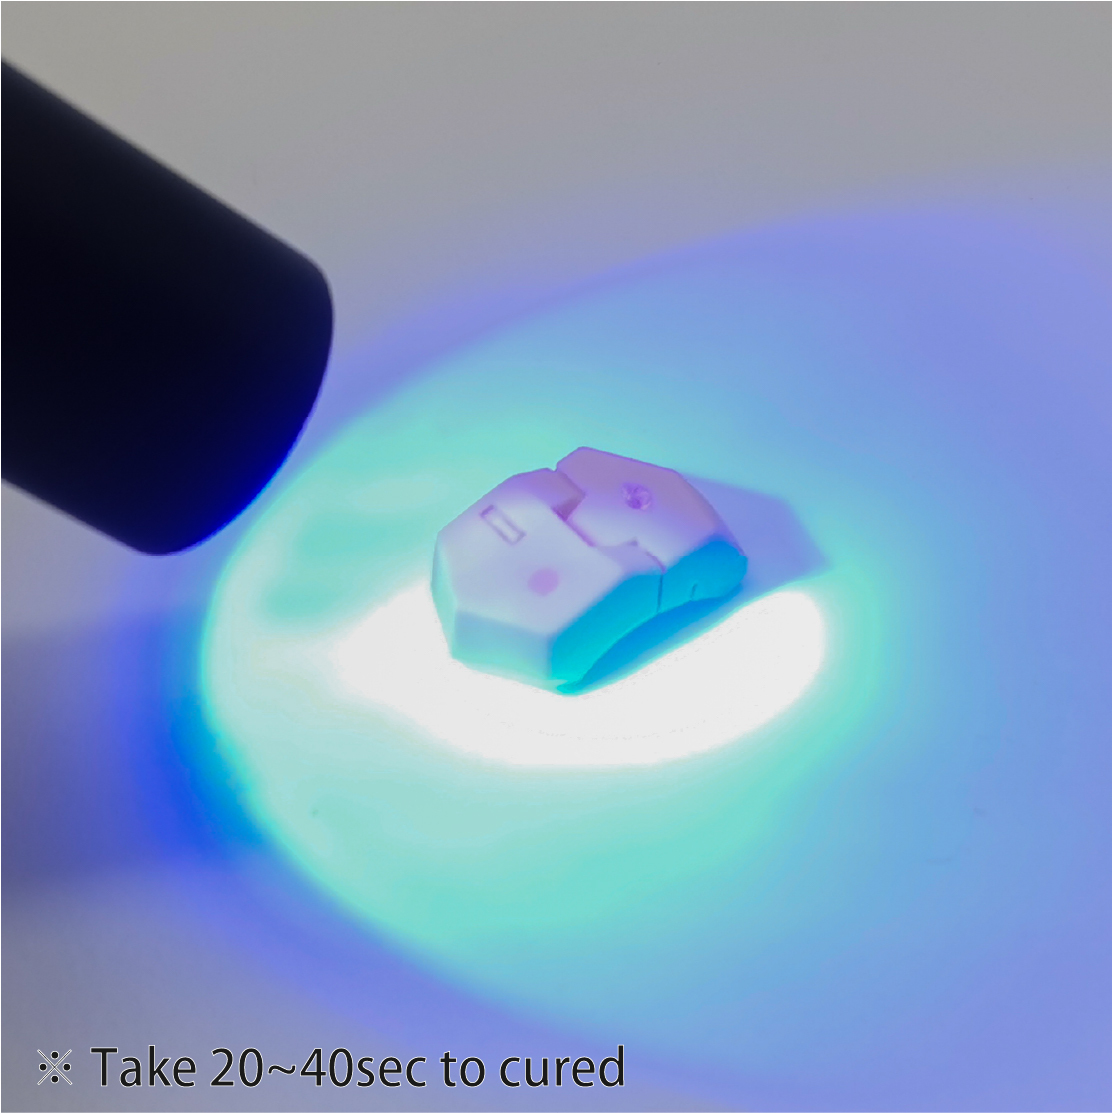
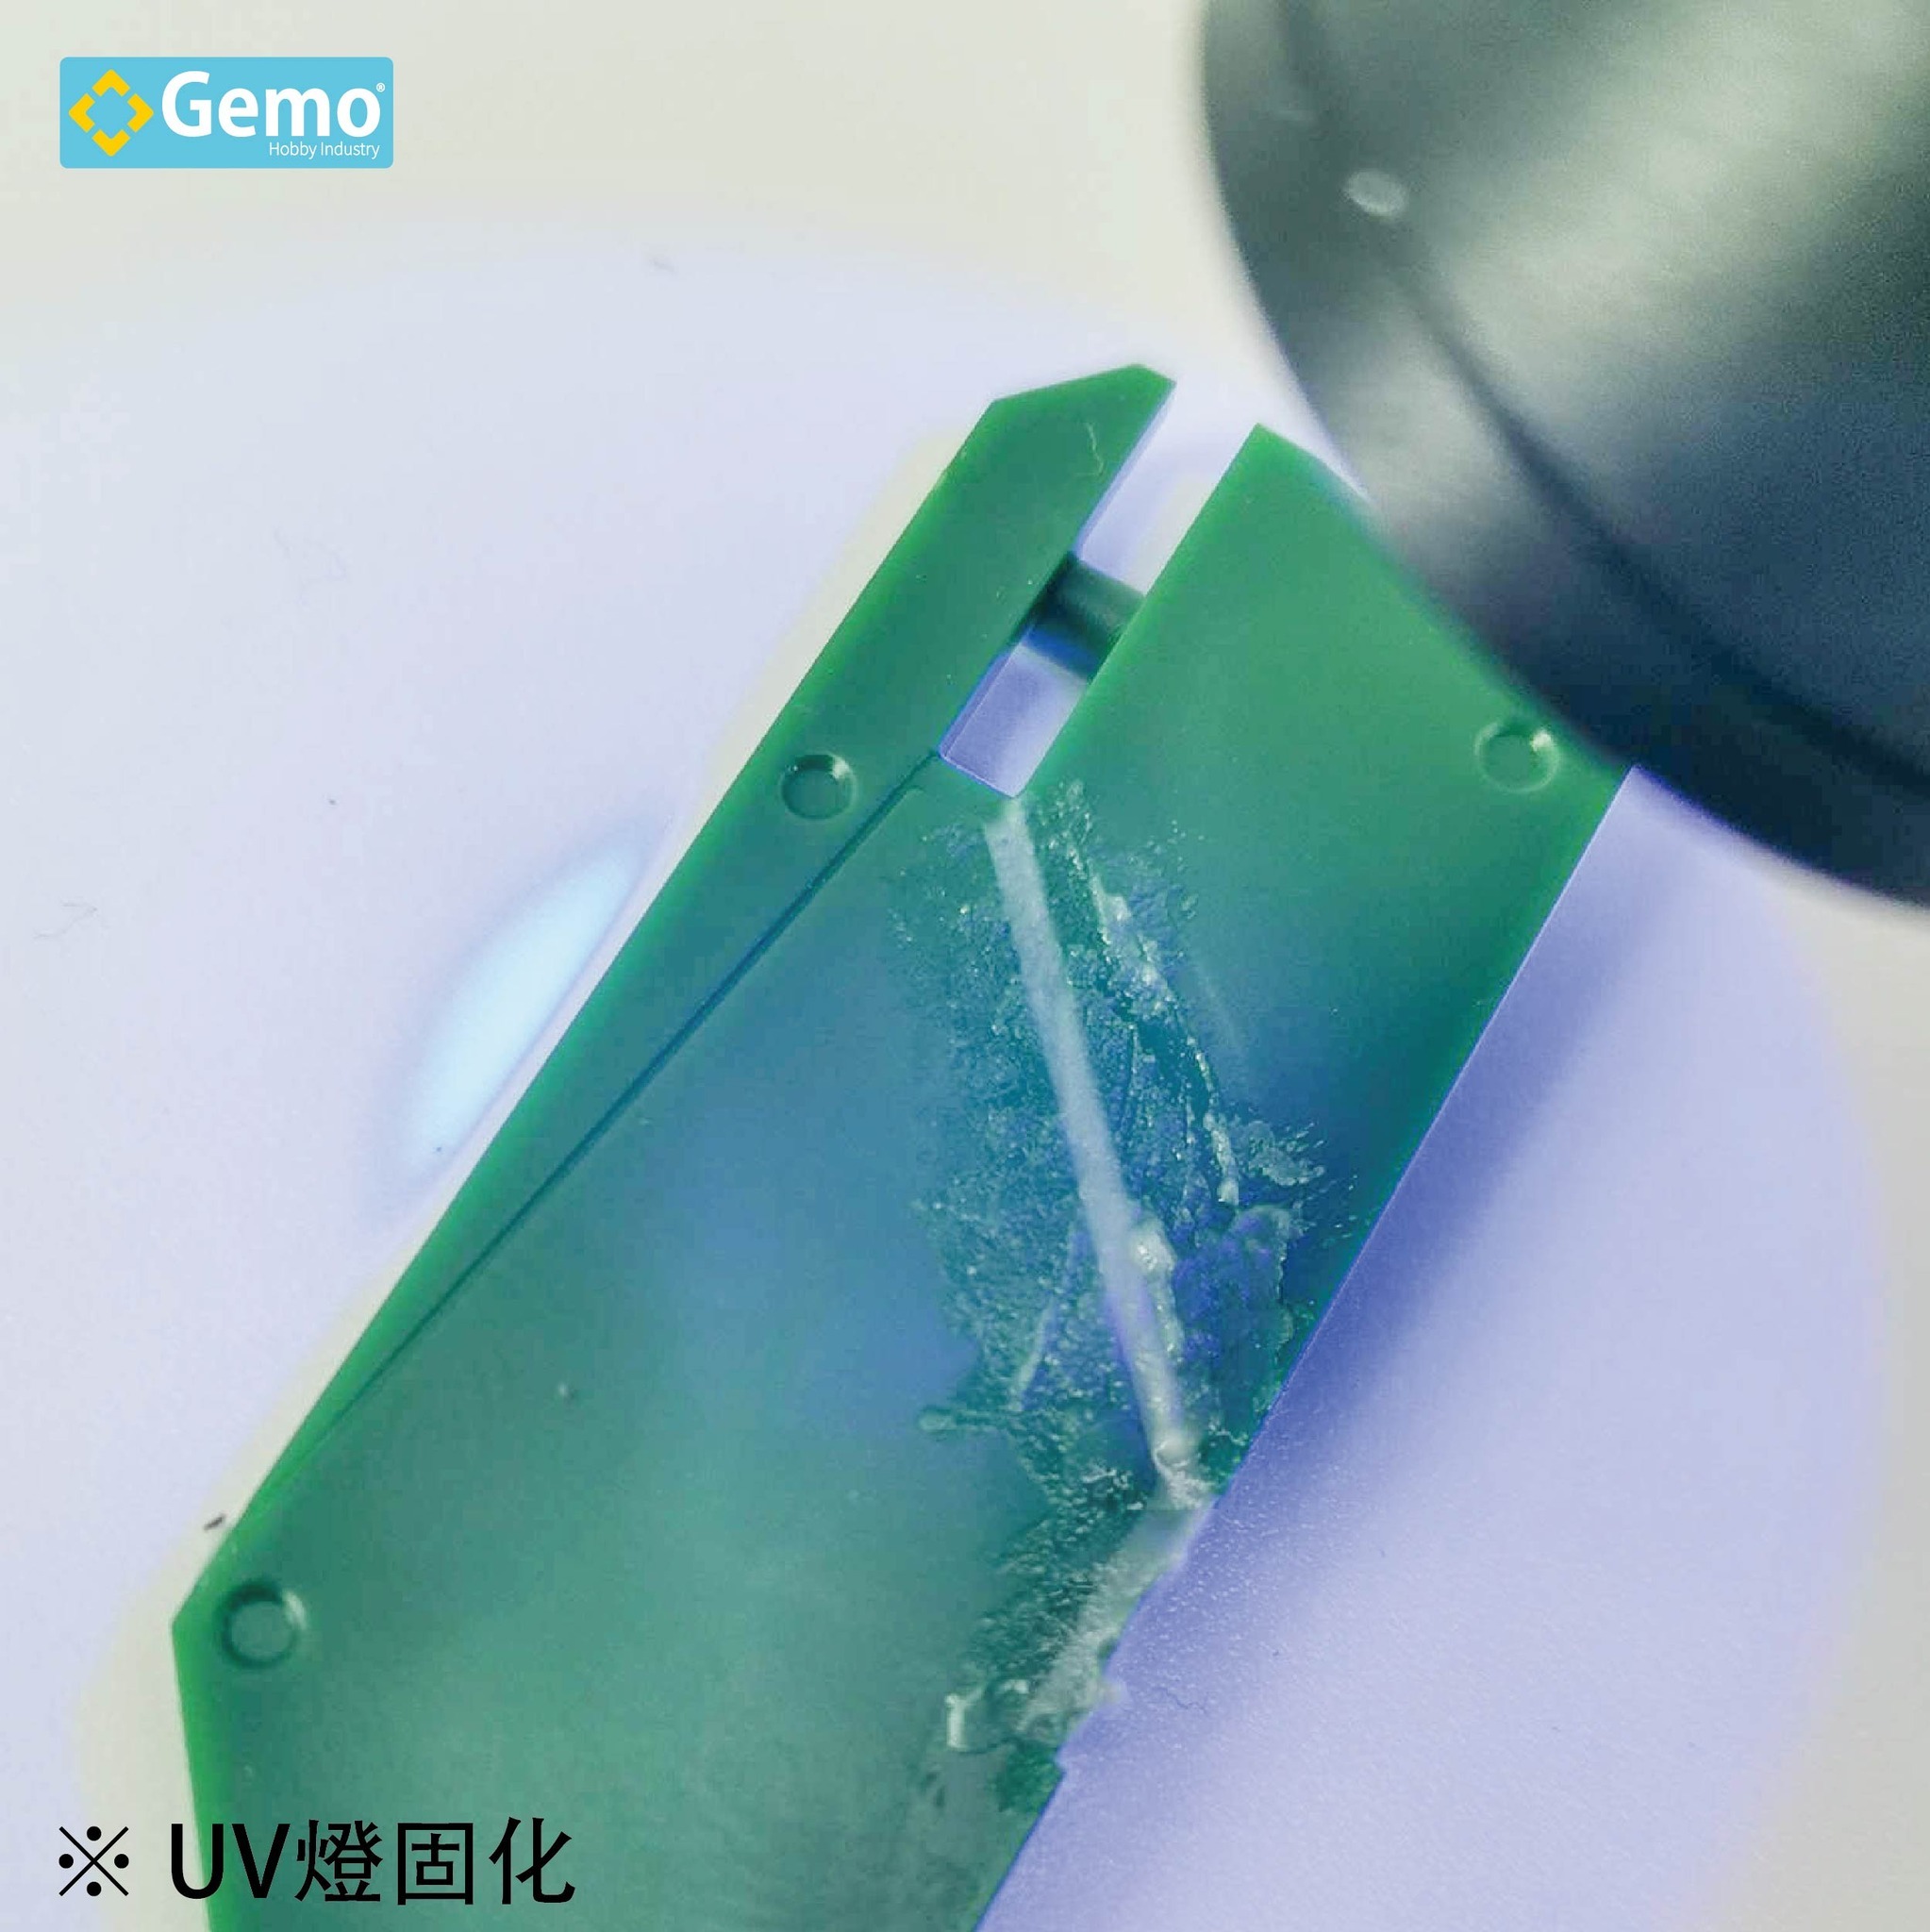
5. When the flashlight is irradiated, make sure 1cm near from the part. If the range is large, irradiate it locally (why should it be so close? To ensured UV light can penetrate to the bottom , so that the clay can cured entirely and stick still )
6. After irradiation and curing, don't rush to sand, wait the temperature drop, You can blow to cool it down, test with your fingers, if without feeling any temperature ,it is ready to sand .
7. If operated by hand, it will feel sticky. At this time, you can wipe with ethanol.
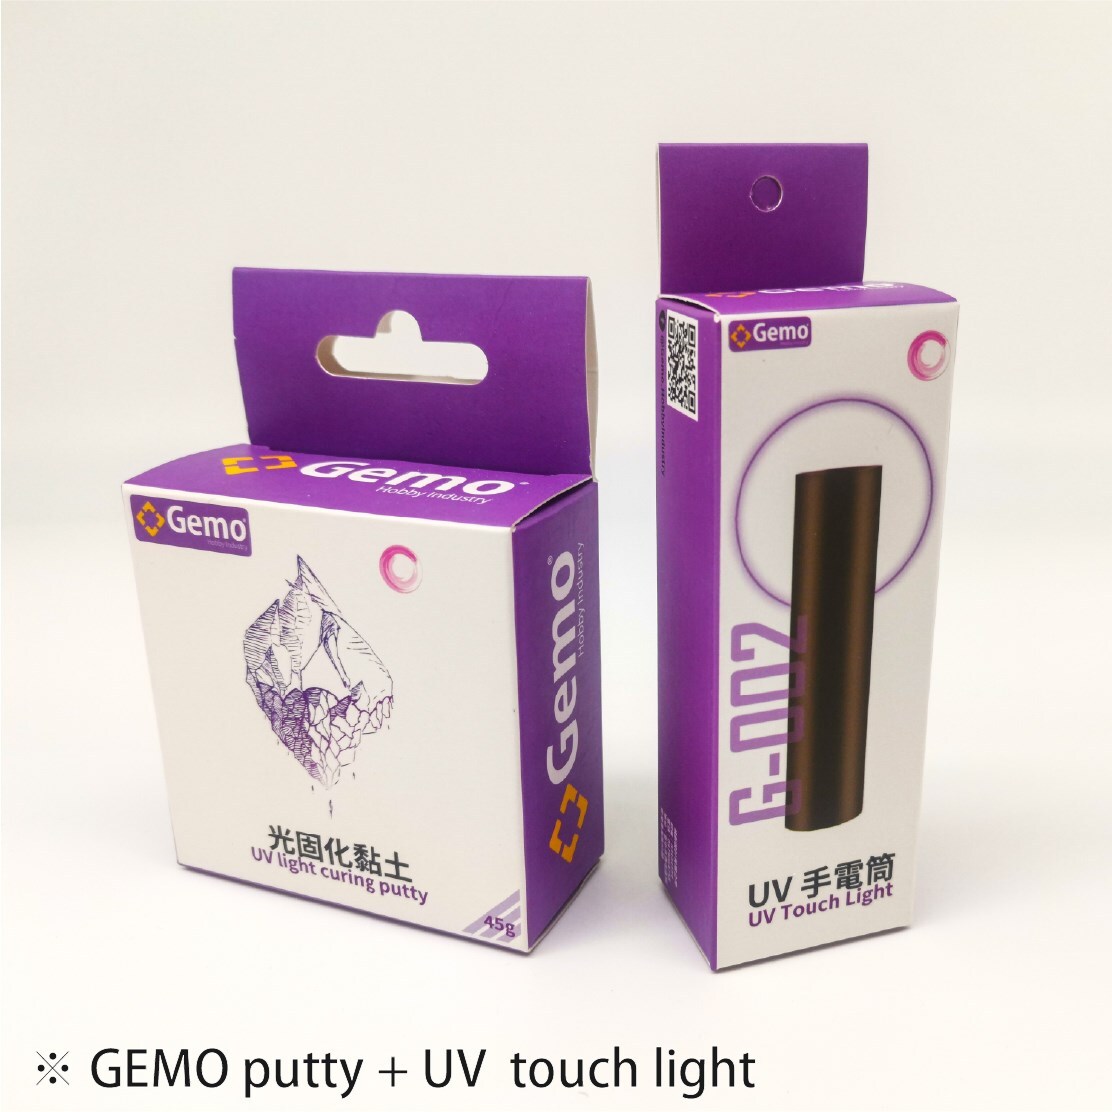
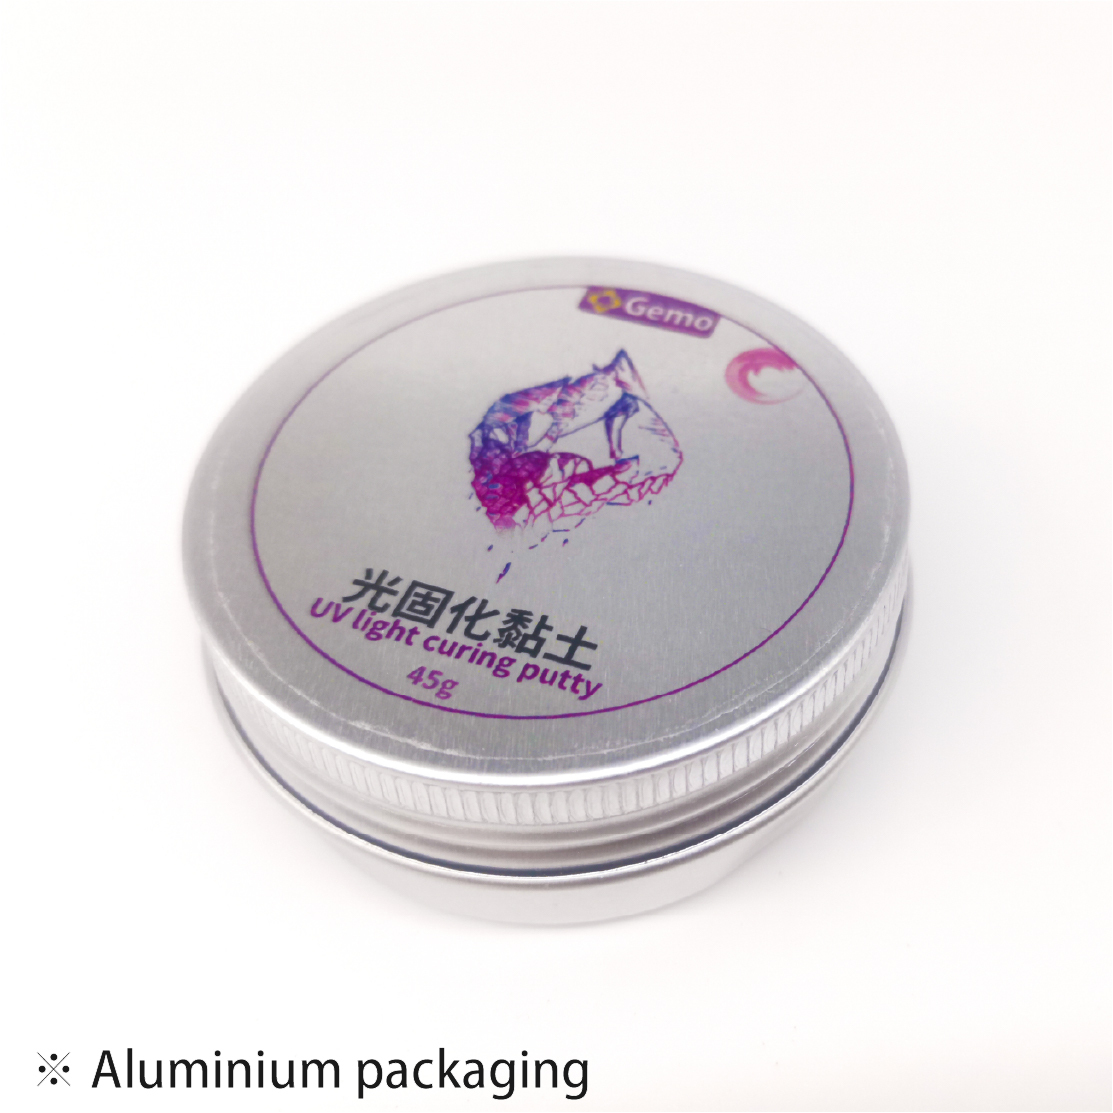
UV light curing putty 45g
#400 sand paper easy sand
Easy cut with razer blade
0.1~1cm thickness can be apply
Kneadable
No oil appear after curing
Low heat
Instructions:
1. First fill up gap or hole with clay.
2. If you need to see the defects clearly , recommended add a little color pigment or dye in clay (remember a little bit is enough, otherwise it will affect the adhesion)
3. If the purpose is only to fill up smoothly , recommended to use ethanol to smooth the clay, which can save a lot of sanding time.
4. How to "extend and modification" for the parts. Remember, before the clay is apply, two things must be ensured
(a) Be sure no dust on the plastic surface (recommended sand the parts to increase adhesion)
(b) The clay must be stick on the part ensured no bubble or gap between part and clay (the principle is similar to ab clay)
5. When the flashlight is irradiated, make sure 1cm near from the part. If the range is large, irradiate it locally (why should it be so close? To ensured UV light can penetrate to the bottom , so that the clay can cured entirely and stick still )
6. After irradiation and curing, don't rush to sand, wait the temperature drop, You can blow to cool it down, test with your fingers, if without feeling any temperature ,it is ready to sand .
7. If operated by hand, it will feel sticky. At this time, you can wipe with ethanol.
UV light curing putty 45g
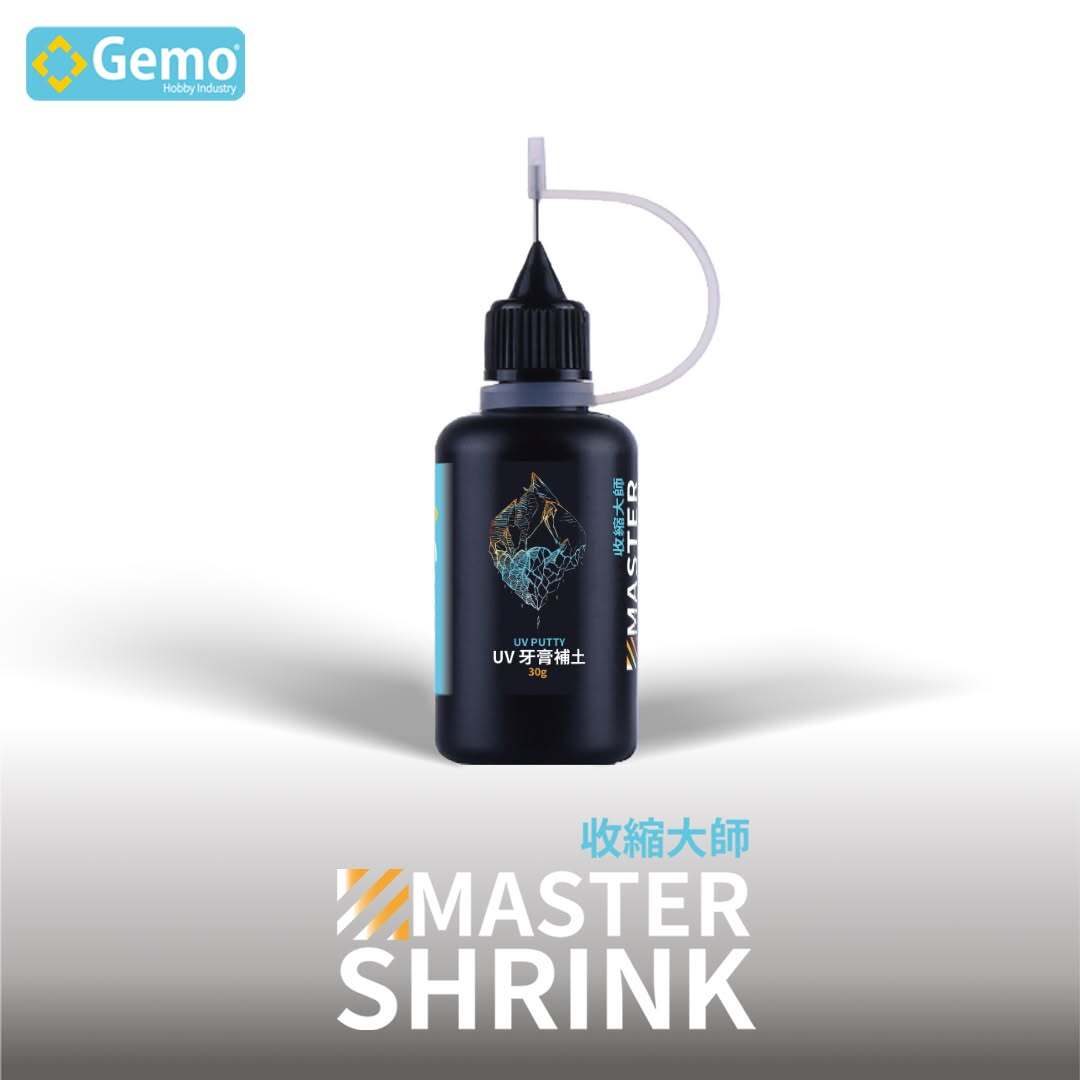
Gemo Master Shrink
1.UV technology shortens curing time significantly![]()
2.No shrinkage after curing![]()
3.Light smell that can be ignored![]()
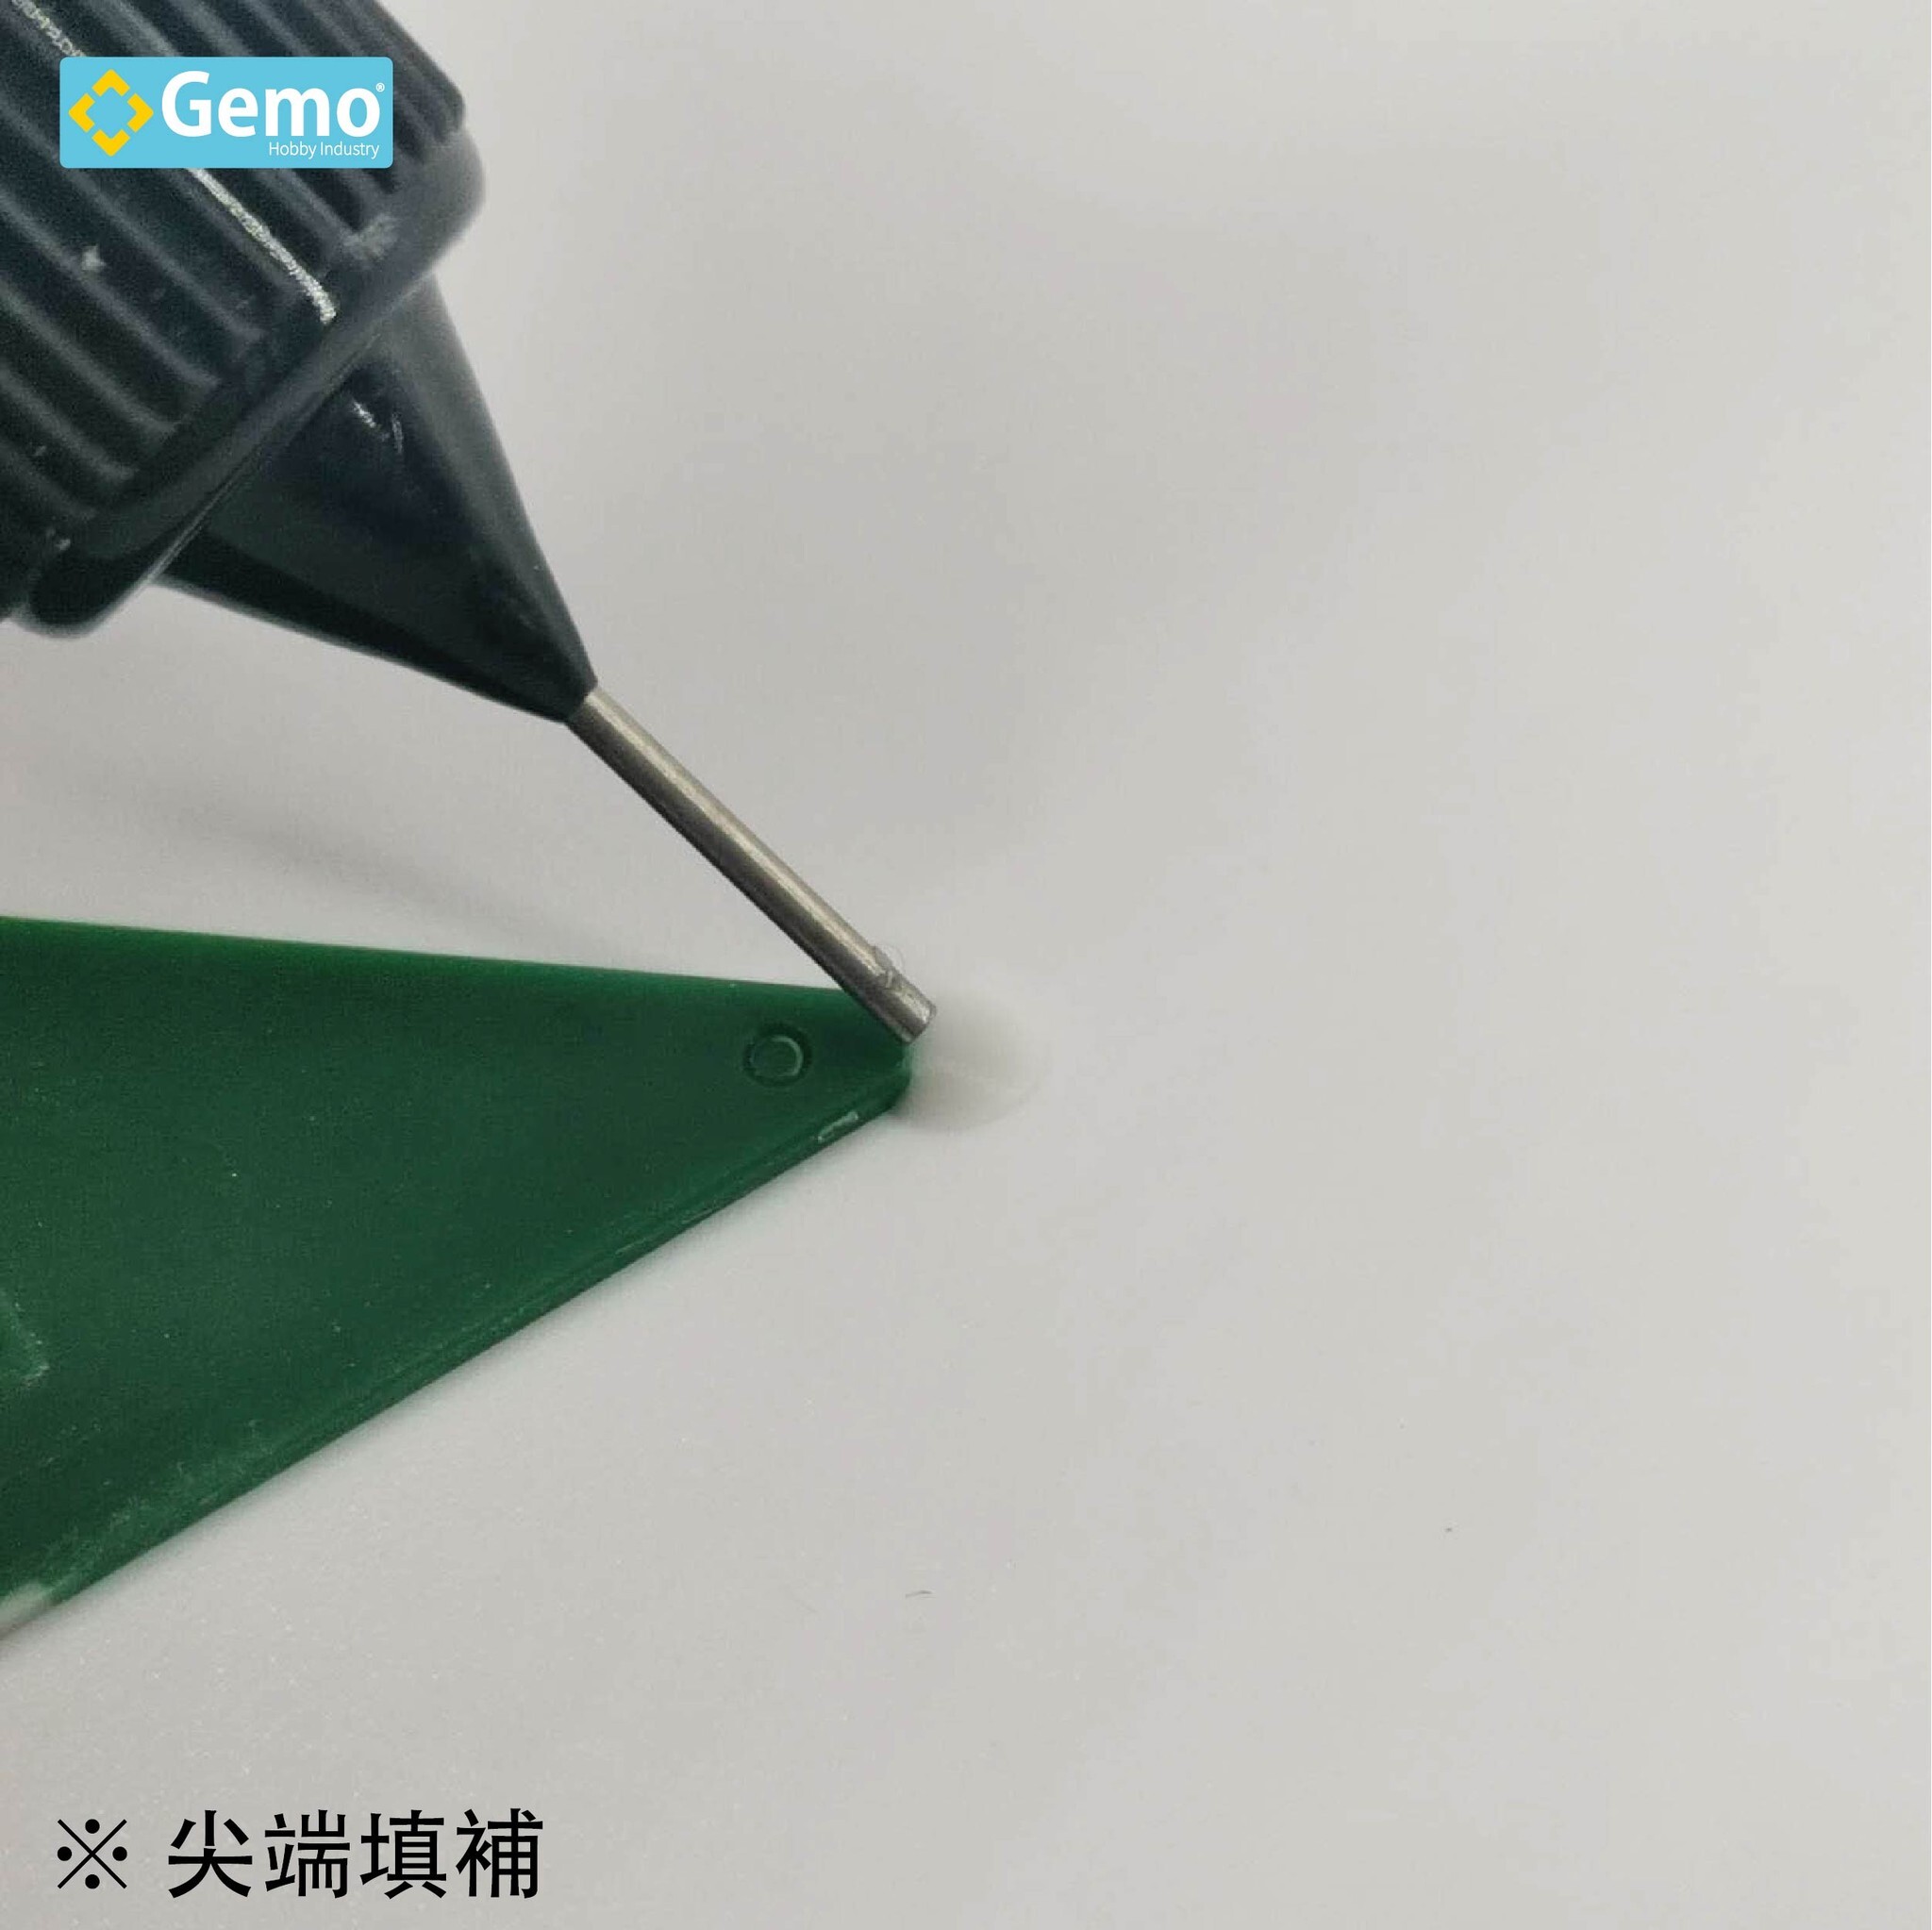
4.Strong structure that can be used on sharp edges![]()
5.Non-greasy![]()
1.Can adhere to plastics, even when polished very thin, not easy to fall off![]()
2.Moderate fluidity![]()
3.Easy to polish (similar hardness to plastic)![]()
Capacity: 30g
Curing time: 10~30 seconds
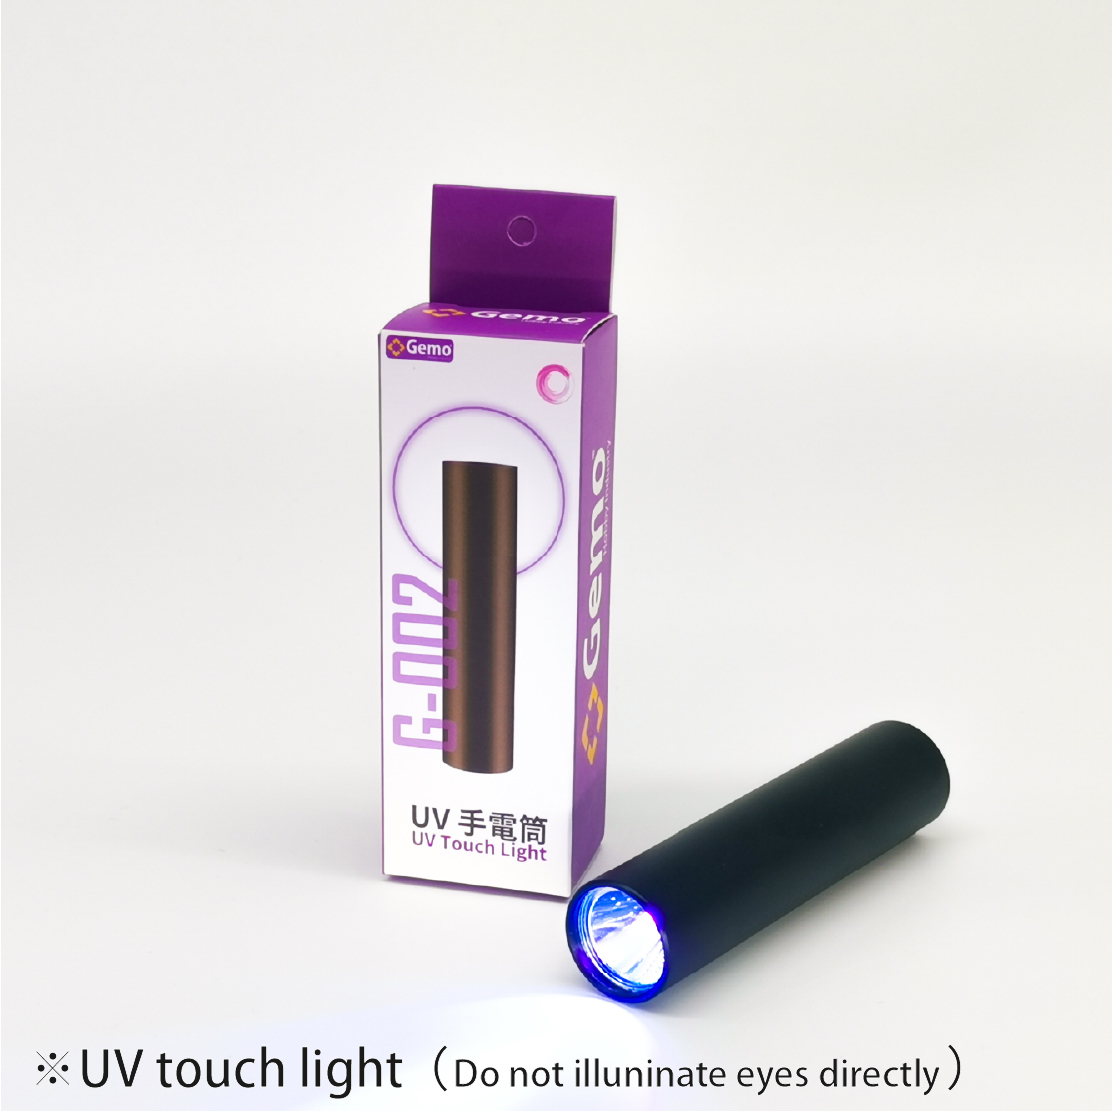
UV Torch Light
caution :
Do not irradiate eyes directly with UV light
Clay is not edible
×